Activity Overview
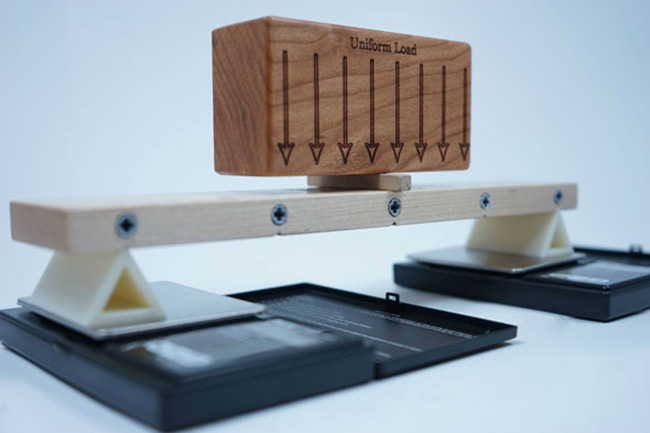
In this activity, students will apply various loads and moments to a wooden beam. Using weights, scales and a torque tool, they will learn how loads and moments – and their locations – affect the support forces (reactions) associated with simply-supported beams.
Learning Objectives
By the end of the activity, students should be able to:
- Demonstrate basic understanding of forces, moments and reactions
- Explain the difference between dead and live loads
- Describe how load position affects reactions
- State confidently that moment location does not affect reaction
- Grasp the concept of experimental variability
- Understand why theoretical and experimental findings differ
- Calculate reactions for particular load combinations
If the extended version of the Activity is used, students should also be able to:
Tips for Using the Activity
Students should be encouraged to enjoy the Activity.
They should not be rushed or under pressure to obtain the “correct answer” or a high grade.
Instead, they should be encouraged to explore, and figure out how various beam designs work.
Beams with overhangs can also be built.
Because students especially dislike the concept that beam reactions do not depend on moment location, special effort was invested so the students could experience this phenomenon first hand. Finding an inexpensive and effective way to apply a prescribed moment was the most difficult part of the design, and some of our challenges and attempted solutions are outlined in the How We Made It section.
Equipment Design
The beam was made as light as possible and the loading blocks were made large enough that students could feel the forces they generated. The beam could have been made considerably thinner, except that we wanted to incorporate discrete points at which external moment could be applied. The notches under the beam are important for maintaining alignment of the supports. The scales were sized so that all of the kit components could be placed on one scale without causing it to overload.
Additional Information
See the Downloadables section for more information on this activity.