Model Overview
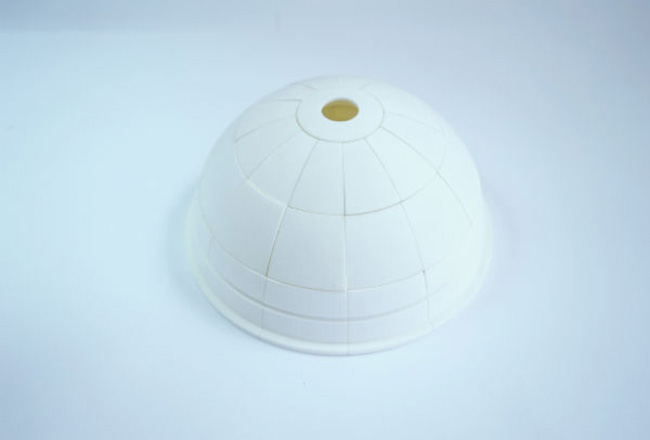
This model allows students to see how the blocks in a masonry or snow dome fit together to make a stable structure. If the dome segments are strung together using fine elastic cord like that sometimes used to craft necklaces, various modes of buckling can also be demonstrated.
Learning Objectives
If students observe carefully as the instructor demonstrates or if they personally experiment with the model, they should be able to:
- Describe in general terms how the blocks in a dome work together to carry load.
- Explain why incomplete domes or parts thereof may be unstable.
- Demonstrate why tension rings are required in domes that are deep (tall).
- Explain several common modes of failure in domes.
Tips for Using the Activity
See https://www.youtube.com/watch?v=Q_tVu_mr0zw.
Model Design
This is a model that I had wanted to build for several decades, but fabrication methods – such as wood-turning – were too expensive and not sufficiently precise. 3D printing provided a practical solution, and Mr. Caleb Horst at CellScale Biomaterial Testing (cellscale.com) kindly prepared the drawings and STL files needed to make the model from a few hand sketches I had made. The parts were fabricated by Shapeways (shapeways.com).
The finish on the parts is important – all contacting surfaces must be smooth and must mate well with opposing parts. In addition, all contacts must have a sufficiently high coefficient of friction to prevent unintended sliding. Our parts were tumbled by the fabricator as part of the finishing process. Some fabrication methods produce surfaces that are glossy and almost certainly too smooth. Post-production sanding with a fine-grade sandpaper might sufficiently increase the coefficient of friction, but would be time-consuming and could deteriorate the fit between the pieces.
The estimated total volume of material in the 37 pieces in the dome proper, is 14.3 cubic inches. Small holes were incorporated into the edges of the panels so that they could be selectively strung together to facilitate assembly and better demonstrate certain deformation modes. See https://www.youtube.com/watch?v=Q_tVu_mr0zw.
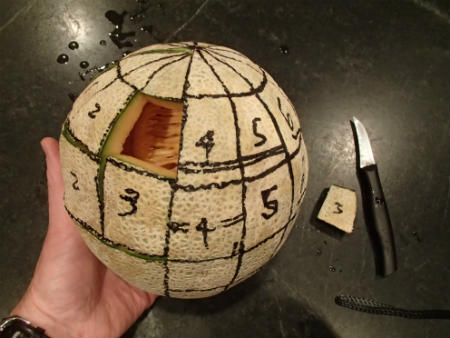
Proportioning of the various components was critical to demonstrating the various modes of failure. Sketches and center-of-gravity estimations were made as part of the preliminary design. Several of the more promising designs were tested using an appropriately cut and sculptured cantaloupe – a partially hollow spherical fruit with reasonably firm flesh – in order to finalize the design.
Additional Information
See the Downloadables section for more information on this activity.