Activity Overview
We found that students particularly liked doing this Activity – presumably because of its simplicity, its counterintuitive findings, and the lovely relationship they discover between free-standing arches and suspended cables.
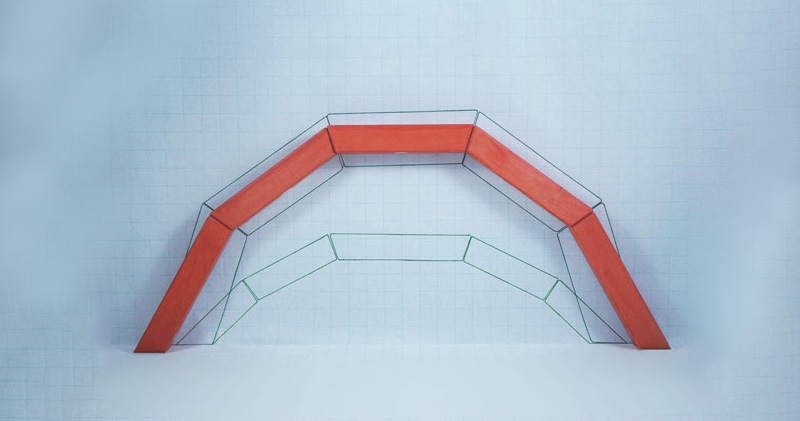
In this Activity, students build a series of arch designs, some of which stand on their own and some which do not. They learn that the shape and thickness of the arch affects its ability to be free standing. Contrary to common intuition, one of the particular designs that fails can be made to stand if it is made wider or shallower. They draw their designs on a large sheet of paper and compare them. They then use a chain to explore families of sagging catenary shapes and observe that a sagging catenary passes through the upside down drawings (strictly speaking, through the joints) of the designs that are able to stand freely.
Learning Objectives
By the end of the activity, students should be able to:
- Explain why reducing the thickness of a free-standing arch can make it unstable
- Explain why circular arches may not be free standing
- Describe why, contrary to intuition, an arch can be made stable by widening its base
- Describe the relationship between free-standing arches and hanging cables.
- Explain why adding a single pivot inside an arch does not cause it to collapse
- Begin to explain how components of an arch work together so as to produce a system that can carry load
Tips for Using the Activity
Students should be encouraged to enjoy the Activity.
They should not be rushed or under pressure to obtain the “correct answer” or a high grade.
Instead, they should be encouraged to explore, and to figure out how the forces in an arch must interact for equilibrium to exist.
In particular, they should be encouraged to feel the forces in the arch and the arch’s degree of balance or imbalance. What forces do they need to apply externally to keep a particular non-free standing design from collapsing?
Students may also enjoy watching this video:
Equipment Design
The equipment for this Activity is very inexpensive to fabricate, and its value to cost ratio is particularly high.
The blocks should be heavy enough for students to feel their weight, detect the degree to which a particular arch structure is in balance by applying perturbation loads, and feel the size of the external loads needed to prevent non-stable structures from falling down. In addition, the density of the wood should be sufficiently uniform that the weight of each block is proportional to its size and its center of gravity is near its geometric centroid. Blocks that are disproportionately heavy or light, or weighted off center will upset the force balance that is crucial to arch function. The ends of the blocks need to be flat and cut to the exact angles indicated. Otherwise, the blocks will tend to shift at their joints, making it difficult for students to build and study the arch designs. Dots were added to the blocks to make it easier for students to distinguish the different block shapes from each other.
Additional Information
See the Downloadables section for more information on this activity.